
A printer test page is the fastest way to diagnose print quality problems before they ruin an important document. If you own the Canon imageCLASS MF656CDW (often shortened to “Canon 656”), printing a test page helps you verify toner levels, and check for clogged nozzles. In this guide, you’ll learn every method to print a test page with Canon 656 — from the printer’s control panel to Windows, Mac, and the Canon PRINT mobile app.

How to Print a Test Page on With Canon 656
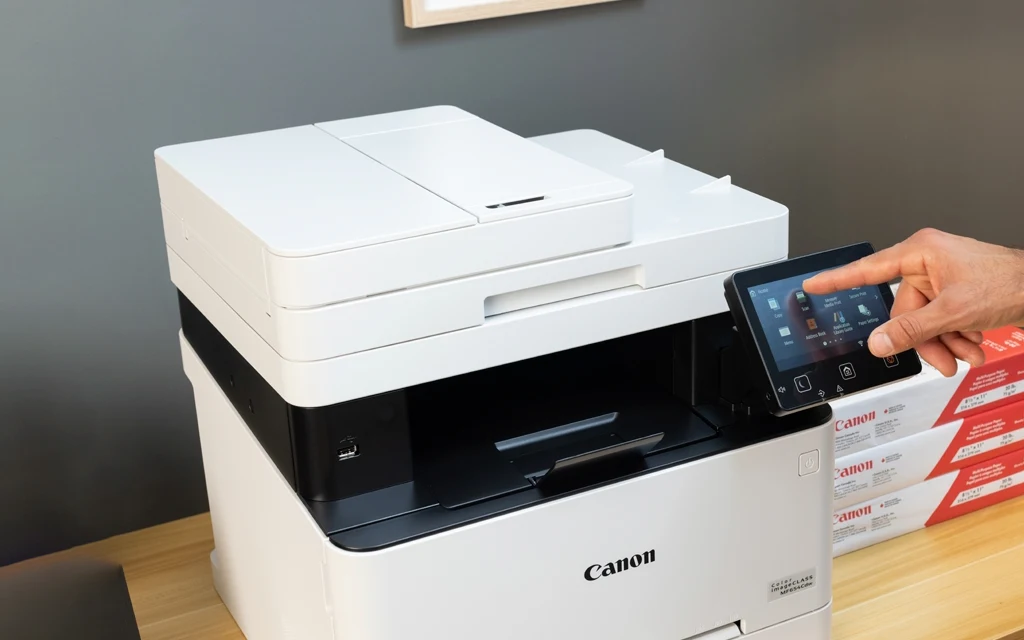
The MF656CDW is a business-class color laser all-in-one with a touch-panel display. You can print a test page directly from the control panel without a computer, or through your operating system.
Method 1: From the Control Panel (No Computer Needed)
This is the fastest method and works even if your printer is not connected to a computer.
- Make sure the printer is powered on and has plain Letter or A4 paper loaded in the paper drawer.
- On the Home screen, press Menu .
- Navigate to Function Settings > Printer > Print Settings.
- Scroll down and select Print Test Page or access the maintenance report options.
- Press Start to print.
Alternatively, for a quick nozzle or gradation check, the official Canon manual notes that you can run Auto Adjust Gradation directly from the maintenance menu, which prints a test pattern and then prompts you to scan it back in for calibration.
Method 2: From Windows 10 or Windows 11
If you have already installed the Canon Master Setup driver, you can print a test page through Windows settings.
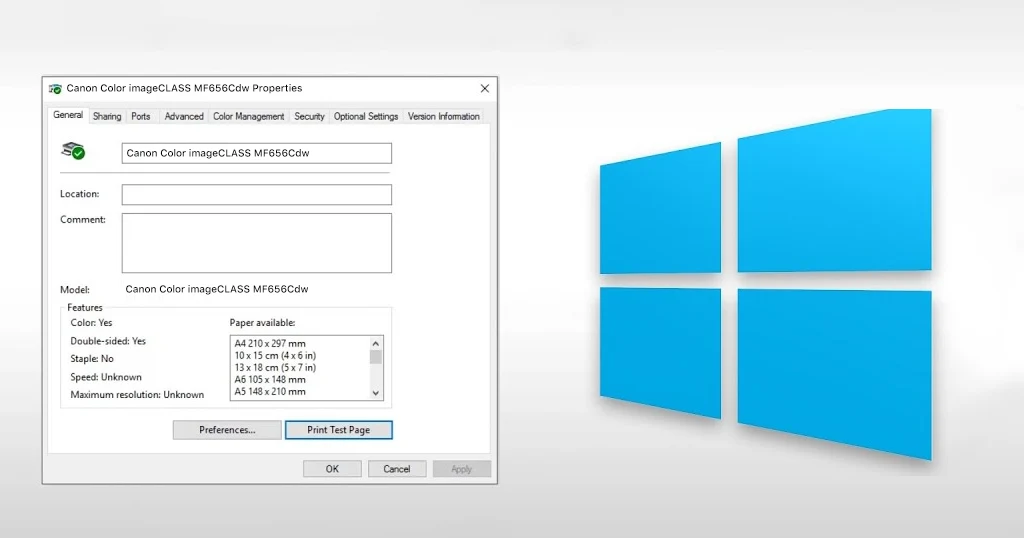
- Open Control Panel > Devices and Printers.
- Right-click on Canon MF656CDW and select Printer Properties.
- Click the General tab.
- Click Print Test Page at the bottom of the window.
- Verify the test page prints within 30 seconds.
This method tests the communication between your computer and the printer. If the control panel method works but this one fails, the issue is likely with your USB cable, network connection, or driver installation.
Note: Cornell’s IT department specifically recommends verifying the test page printed immediately after running the Master Setup installer on Windows 11 before proceeding with other software installation.
Method 3: From macOS
- Open System Settings (or System Preferences on older versions).
- Click Printers & Scanners.
- Select your Canon MF656CDW from the list.
- Click Options & Supplies.
- Select the Utility tab and click Print Test Page.
Method 4: Using Canon Printer Software (UFR II Driver)
The Canon UFR II printer driver includes advanced maintenance options.
- Open any document and press Ctrl + P to open the print dialog.
- Select your Canon MF656CDW and click Preferences or Properties.
- Navigate to the Maintenance or Utility tab.
- Click Print Test Page or Nozzle Check.
- Follow the on-screen prompts.
How to Read Your Canon MF656CDW Test Page
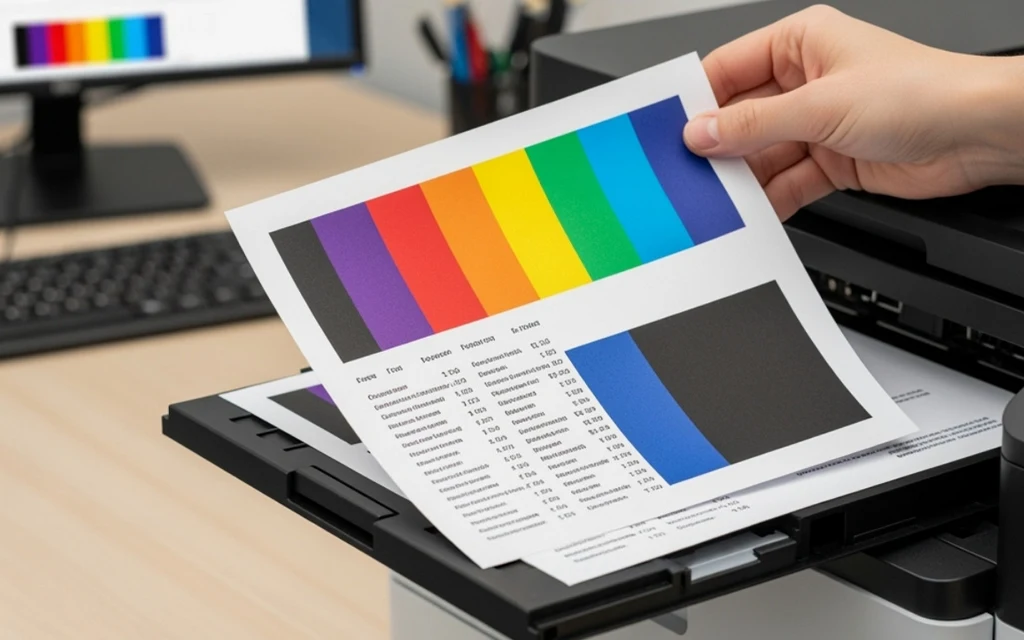
Once the page prints, examine these key areas:
| Test Element | What to Look For | Problem Indicator |
| Black Text Block | Black Text Block | Faded text = low black toner or Toner Save mode is on |
| CMYK Color Bars | Even, solid color across each bar | Missing or streaked bars = low toner or drum issue |
| Gradation Patterns | Smooth transition from light to dark | Banding or lines = print head or transfer belt issue |
| Alignment Grid | Straight, crisp lines | Blurry or double lines = print position needs adjustment |
If you notice color mismatch or blurry output, Canon recommends running Correct Print Color Mismatch from the maintenance menu.
Troubleshooting Common Print Quality Issues
Streaks or Faded Colors
If your test page shows streaks, first check whether Toner Save mode is enabled. This setting reduces toner consumption but makes output look lighter.
- Press Menu on the control panel.
- Go to Function Settings > Printer > Print Settings > Print Quality.
- Set Toner Save to Off.
- Increase Density for the affected color (Yellow, Magenta, Cyan, or Black).
If density adjustments don’t help, the toner cartridge may be genuinely low.
Blurry Text or Misalignment
Blurry text on the MF656CDW usually indicates a print position or alignment issue rather than a toner problem.
- Print a test page.
- Navigate to Menu > Function Settings > Printer > Adjust Print Position.
- Follow the on-screen instructions to scan the printed alignment page.
- The machine will automatically recalibrate.
You can also manually adjust print position in increments of 0.01 inches if the automatic correction is insufficient.
Blank Test Pages
A completely blank test page is rare on laser printers but can happen if:
- The toner cartridge seals were not removed during installation
- The drum unit is defective
- The printer is in an error state (orange light flashing)
Try these steps:
- Power off the printer, wait 60 seconds, and power it back on.
- Check for error messages on the touch panel.
- Remove and reinstall the toner cartridges, ensuring all protective seals are removed.
- Print another test page.
Color Mismatch Problems
If colors look wrong—reds appear orange or blues look purple—run the gradation adjustment:
- Go to Menu > Adjustment/Maintenance > Auto Adjust Gradation.
- Select Full Adjust for the most thorough correction.
- The printer will print a test pattern, then prompt you to place it on the platen glass for scanning.
- Close the feeder and press Start Scanning to complete the adjustment.
Advanced Settings for Better Print Quality
The MF656CDW offers several professional-grade settings accessible through the control panel or driver:
| Setting | Location | When to Use |
| Resolution | Printer Settings > Print Quality | Set to 1200 dpi for fine text; 600 dpi for faster draft printing |
| Special Smoothing Mode | Printer Settings > Print Quality | Switch from Mode 1 to Mode 4 if photo outlines look jagged |
| Pure Black Text | PDF Settings | Forces black text to use only K toner instead of CMYK mix |
| Density Fine Adjustment | Printer Settings > Print Quality | Increase when small text appears faded (only at 1200 dpi) |
Frequently Asked Questions
How do I print a test page on Canon imageCLASS MF656CDW without a computer?
Press Menu on the control panel, navigate to Function Settings > Printer > Print Settings, and select Print Test Page. The printer will generate the report automatically using its internal memory.
Why is my Canon MF656CDW test page faded?
Check if Toner Save mode is enabled in the print quality settings. If it is off and the page is still faded, the toner cartridge for the affected color is likely low and needs replacement.
Can I print a test page from Windows 11?
Yes. Go to Control Panel > Devices and Printers, right-click your Canon MF656CDW, select Printer Properties, and click Print Test Page. This is also a required verification step during initial driver installation.
What does “Correct Print Color Mismatch” do?
This maintenance function fixes blurry or misregistered colors by realigning the toner application process. Access it through Menu > Adjustment/Maintenance > Correct Print Color Mismatch.
How often should I print a test page?
For office environments, print a test page once per month or whenever print quality looks off. For home users who print infrequently, run a test page every 2-3 weeks to keep the toner and drum mechanisms active.
Conclusion
Printing a test page on the Canon imageCLASS MF656CDW takes less than a minute but can save hours of troubleshooting.
Whether you use the control panel, Windows, macOS, or the Canon driver utility, the diagnostic information on that single sheet tells you exactly what’s happening inside your printer.
If your test page reveals streaks, faded colors, or alignment issues, start with the simplest fixes first: disable Toner Save, adjust density, and run the automatic gradation adjustment.
For persistent problems, the print position and color mismatch correction tools built into the MF656CDW’s maintenance menu will resolve most quality issues without a service call.