
Ever thought about making your home network faster? Slow speeds can happen when lots of devices use the same bandwidth. Setting up two routers can help manage traffic better, making your network faster. Learning to connect two routers via RIP is key. This method makes sure data moves quickly and efficiently. It helps you build a network that grows with your needs.

This guide will teach you how to manage your network like an expert. You’ll learn to create a system that supports all your online activities smoothly.
Understanding RIP and Network Topology
When you connect multiple devices, how you route traffic is key. Learning about router networking basics helps you create a stable system. This system can adjust to changes without needing constant updates.
The Role of Dynamic Routing Protocols
Dynamic routing protocols are crucial for finding paths in your network. They let routers share path information with each other. This makes your network smarter and more efficient.
This approach cuts down on the need for manual routing setups. You don’t have to set every path by hand. The system updates its routes automatically when links change.

Why Choose RIP for Small to Medium Networks
The Routing Information Protocol (RIP) is great for smaller networks. It’s simple to set up, making it a top pick for many admins. RIP is perfect for those who want a straightforward solution.
It helps manage traffic flow well, without the complexity of more advanced protocols. Choosing RIP means your network stays easy to manage as your business expands.
Preparing Your Hardware and Network Environment
A successful network starts with a solid foundation. Before diving into software, make sure your equipment is ready. Organizing your hardware prevents common issues and makes the process smoother.
Selecting Compatible Router Hardware
Choosing the right hardware is key for a stable setup. Check if your routers support the needed protocols and have enough ports. Also, ensure your devices run compatible firmware to avoid performance problems.
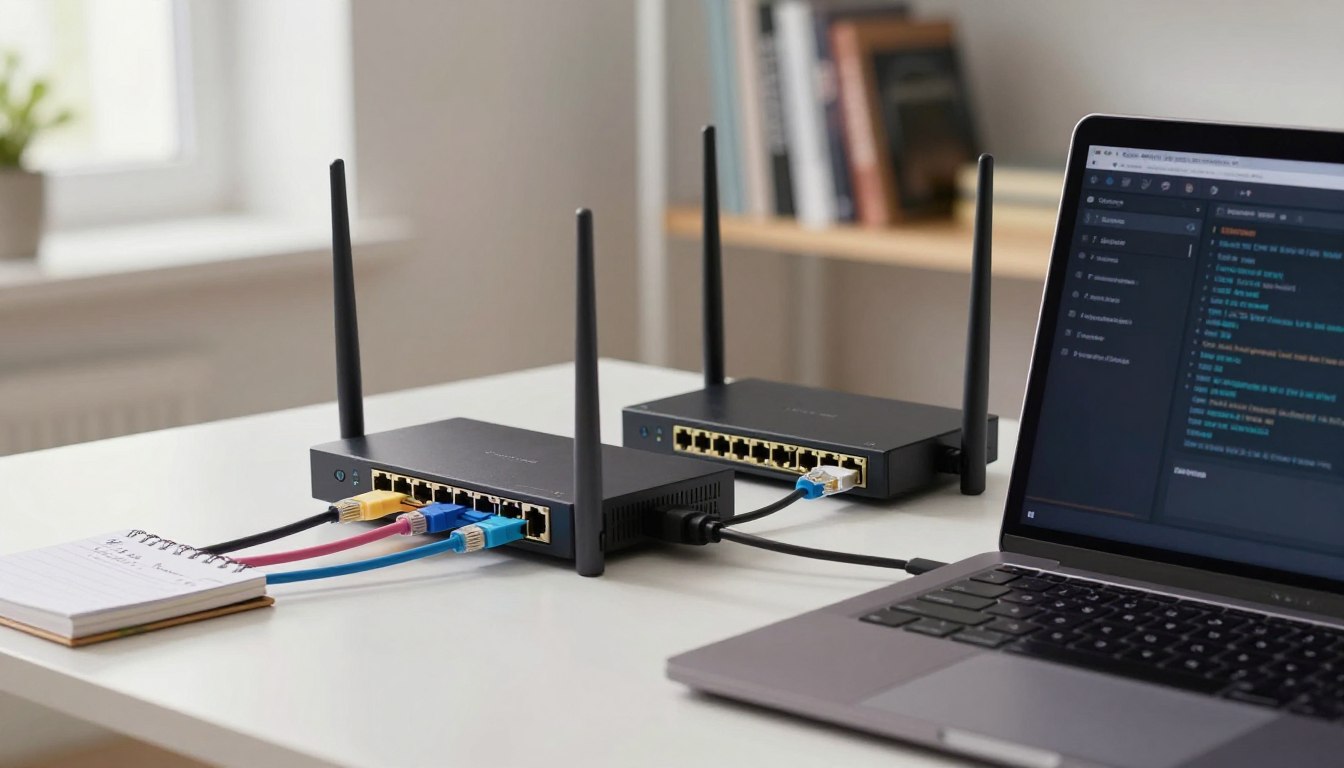
Mapping Your Network Subnets
Before connecting cables, plan your network. Assign unique IP addresses to each segment to avoid conflicts. Documenting your scheme helps manage your network as it grows.
Establishing Physical Connections Between Routers
With your plan ready, connect your routers. Use quality Ethernet or serial cables for secure connections. Make sure link lights are on to confirm the physical layer is set for the next steps.
How to Connect Two Routers via RIP
Now, you’ll work on the router’s internal software to let them talk. You need to get your devices ready to share routing info. This is key to connect two routers via rip and make sure your network segments can communicate.
Accessing the Command Line Interface
To start, you must get to the command line interface (CLI) of your router. You can do this with a console cable or a remote program like PuTTY. Once you’re in, you’ll see a command prompt waiting for you.
Setting Up Global Configuration Mode
After logging in, you’ll enter privileged EXEC mode with the enable command. Then, you’ll get into global configuration mode to change settings for the whole system. This is where you make changes that affect everything, not just one interface.
To get into this mode, just type “configure terminal” at the prompt. You’ll see the prompt change, showing you’re ready to set global settings. This is where you’ll set up what’s needed to connect two routers via rip.
Defining the Routing Domain
The last step is defining the routing domain. Start the RIP process by typing the router rip command in your config session. This command tells the device to start the routing protocol and share network info with neighbors.
Getting this right is crucial for your network segments to talk to each other. By defining the domain correctly, your routers will be ready to share network info. This makes data exchange smooth and reliable across your network.
Configuring Router Interfaces and IP Addressing
Setting up the right IP addresses is key in router setup. It makes sure data packets reach their destinations correctly. Without it, your network can’t talk to each other well.
Assigning IP Addresses to WAN Interfaces
The WAN interface connects your routers. You need to give it a unique IP address and subnet mask. This helps devices talk to each other without problems.
Configuring LAN Gateway Addresses
LAN interfaces need a gateway address to send out local traffic. This address is usually the first IP in your subnet. You can also setup router as access point to cover more area. Planning here helps avoid IP address issues later.
Ensuring Interface Status is Active
Even with the right addresses, ports need to be turned on. You must enter interface mode and use the “no shutdown” command. Checking if the status is active is crucial. It shows the physical layer is ready for RIP updates.
Enabling the RIP Routing Protocol
You’re all set to start sharing routing info between your devices. This step is key to a solid rip routing protocol setup in your network.
Activating the RIP Process
First, get into the global config mode on your router. Then, use a command to start the routing process. This lets the router send and receive updates with its neighbors.
With the process running, the router starts mapping out your network. This is a crucial step for smooth communication.
Defining Network Statements for Advertisement
Next, decide which interfaces will share routing info. You do this by setting up network statements for your local subnets.
These statements guide the router on which networks to share with other routers. This makes sure every part of your network is accessible.
Setting the RIP Version for Compatibility
It’s important to keep your setup consistent. Make sure both routers use the same protocol version to avoid errors.
Choosing a version helps prevent issues during setup. It ensures your routers understand data correctly, keeping your network stable.
Verifying Connectivity and Routing Tables
Testing your network is key to understanding router networking basics. After setting up your dual router, you need to check if it works right. This makes sure data moves smoothly through your network.
Using Ping to Test End-to-End Reachability
The ping command is your go-to for checking connectivity. Try to ping the remote router’s interface IP from your device. If it times out, check your cables and router status.
Getting replies means the path between routers is open. This basic test shows your network layer is working. It’s the first check to see if your setup is good.
Analyzing the Routing Table for RIP Routes
Next, look at the routing table to see if RIP has found the right paths. Use the command to see your current routing table. Look for R-marked routes, which show RIP paths.
If you don’t see these routes, your network setup might be off. Make sure your subnets are right in your config. A full table means your routers are talking well.
Interpreting Debugging Output for Routing Updates
Debugging lets you see how routers share info. Enable the debug command to watch routing updates live. This shows when and how RIP packets move.
Watch the logs for errors or rejected updates. These clues are key to understanding your network’s flow. Learning these steps is crucial for router networking basics.
Troubleshooting Common RIP Configuration Issues
When your routing updates fail to propagate, finding the root cause is key. Even with careful planning, obstacles can prevent devices from communicating. Knowing your router connection and RIP setup is crucial for quick network stability.
Resolving Mismatched RIP Versions
Version mismatch is a common cause of routing failure. RIP version 1 doesn’t support variable-length subnet masks, unlike version 2. If one router expects version 2 but gets version 1, updates are ignored.
Make sure both routers use the same version. Use the command line to check their global configuration settings. It’s vital for successful route advertisement.
Fixing Incorrect Network Statement Definitions
The network statement defines which interfaces should be in the routing process. An incorrect network address means the router won’t send or receive updates. This can leave your routing table empty.
Check your configuration to match the actual subnets of your interfaces. Network statements must align with IP address classful boundaries. A small typo can block your network from learning remote routes.
Addressing Physical Layer and Interface Failures
Sometimes, the issue is physical, not logical. Before checking software settings, confirm your cables are secure and link lights are active. A loose cable or faulty port can break your router connection.
Use show commands to check interface status. If an interface is down, enable it manually. Verifying the physical layer ensures your efforts are not wasted.
Conclusion
Using the Routing Information Protocol changes how your networking routers talk to each other. Now, you have a strong system that grows with your needs and moves data smoothly.
Managing these systems keeps your business running smoothly. Setting up your networking routers right gives your digital world the stability it needs.
Make sure to check your routing tables often for the best performance. Keeping up with maintenance stops problems and keeps your data flowing freely.
Post about your experiences with these settings in the discussion area below. Your stories help others build better systems and improve their skills. If you need help optimizing your setup, just ask.