
Ever wondered how to unlock your computer’s full potential? Many struggle with adjusting settings, but knowing how to enter BIOS on Windows 10 is key.
This basic process lets you manage boot orders and check system temperatures. It also helps you tweak hardware settings for better performance.
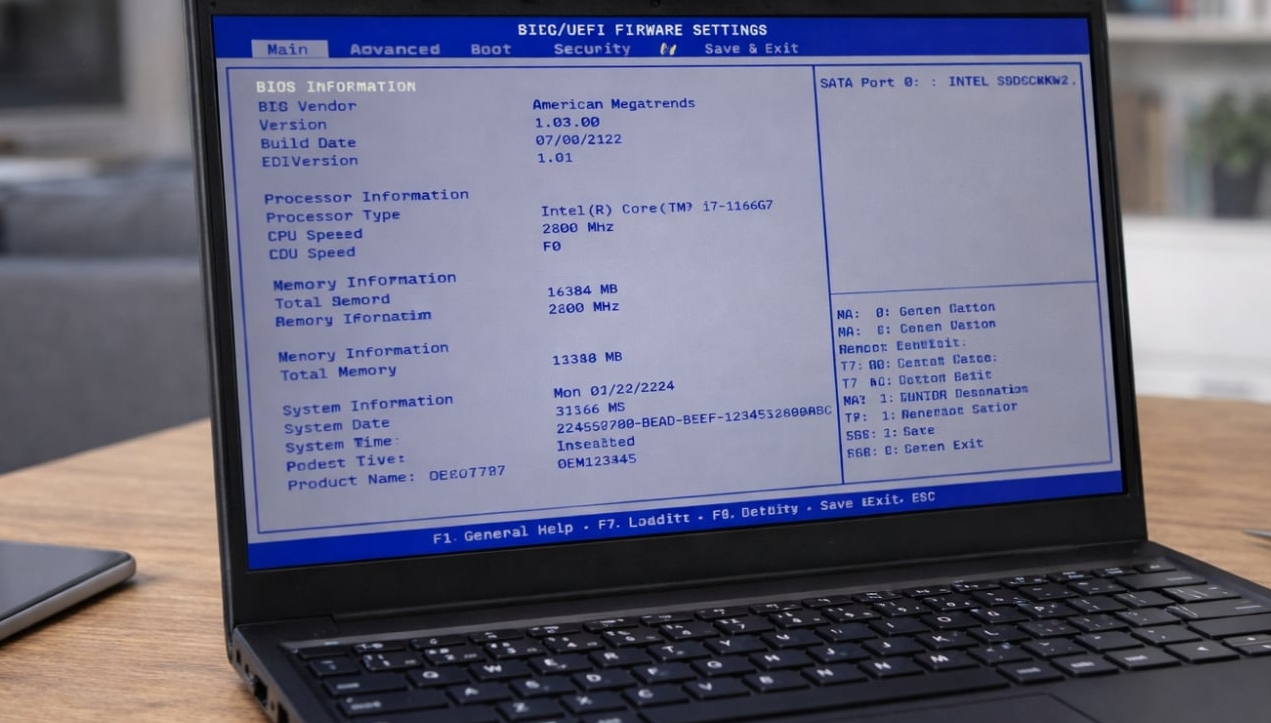
Entering BIOS might seem scary, but it’s actually easy once you know the steps. It’s great for fixing hardware issues or just exploring your system.
This guide breaks down complex terms into simple steps. By the end, you’ll be able to navigate your system firmware with confidence.
Understanding BIOS and UEFI
Knowing the difference between BIOS and UEFI is key for managing your hardware settings. These systems connect your computer’s parts to the operating system.
When you turn on your computer, this firmware starts your hardware. It makes sure your processor, memory, and storage are ready before Windows starts.
The Role of BIOS in Your Computer
The Basic Input/Output System, or BIOS, is your computer’s first gatekeeper. It does a power-on self-test to check if all important parts work right.
After the test, it finds your bootable drive to load the operating system. Without this software, your computer can’t talk to your keyboard, mouse, or hard drive.

Difference Between Legacy BIOS and Modern UEFI
Legacy BIOS is the old standard that’s been around for years. It has a simple interface and is limited by older hardware.
On the other hand, UEFI is the new standard. It offers faster boot times, better security, and support for bigger hard drives.
Most modern computers use UEFI by default. This change makes accessing BIOS in Windows 10 easier and safer for your system.
Preparing Your System for BIOS Access
Getting ready for BIOS changes is key to a smooth process. Make sure your computer is stable and ready for these adjustments. This helps prevent errors that could mess up your work.
Ensuring Data Safety Before Changes
Protecting your files and documents is your top priority. Before making any changes, back up your important data. Use an external drive or cloud storage for this. It’s a safety measure in case something goes wrong.

Checking for Firmware Updates
It’s important to keep your system firmware up to date. This ensures your hardware works well and is secure. Check your system settings to see if your motherboard is current.
If your firmware is old, go to your device’s support website for updates. Use your system settings or the manufacturer’s tool to install them. A system with the latest updates is less likely to have problems when you access the BIOS.
How to enter bios on Windows 10 via Settings
Learning how to enter bios on Windows 10 through the settings menu is easy. It doesn’t require quick keyboard timing during startup. This method is great for those who prefer using a mouse to set up their system.
By using built-in tools, you can skip the hassle of missing the timing for pressing function keys.
Navigating to the Recovery Menu
To start, click the Start button and choose the gear icon to open Settings. Then, go to the Update & Security section at the bottom. Look for the Recovery tab on the left to see your system options.
Selecting Advanced Startup Options
In the Recovery menu, find the Advanced startup section. Click the Restart now button to reboot into a special environment. This will take you to the windows 10 advanced options screen, your gateway to firmware.
After restarting, pick Troubleshoot and then Advanced options. Choose UEFI Firmware Settings and click Restart. This will let you enter bios on Windows 10 without guessing which key to press.
Using the Shift-Restart Method for Quick Access
If you’re having trouble with your computer, the Shift-Restart combo is your best friend. It lets you skip through menus to get to system settings fast. This method gives you control over your computer without going through many steps.
Executing the Keyboard Shortcut
To start, open the Start menu and click on the Power icon. Hold down the Shift key on your keyboard. Keep it pressed while you click Restart.
Don’t let go of the Shift key until the screen changes. This action makes your computer skip the usual reboot. It gets ready for more advanced maintenance tasks.
Rebooting into the Troubleshooting Environment
After rebooting, you’ll see a blue screen with several recovery options. This is your entry point to windows 10 startup settings. Here, you can change how your computer boots.
In this menu, you can also pick advanced options to enter windows 10 safe mode. If your system is unstable, this mode offers tools to fix boot issues. It also helps remove software that’s causing problems.
Accessing BIOS through the Command Prompt
The Command Prompt is a quick way to get into your system’s firmware. It skips the graphical menus and lets you enter bios on windows 10 with a simple command. This method is great for managing hardware settings without going through many software layers.
Opening the Command Prompt as Administrator
To start, you need to make your terminal more powerful. Click the Start button and type “cmd” in the search bar. Right-click the Command Prompt result and choose “Run as administrator” to get the right permissions.
When the window opens, you’ll see the system path, usually in your Windows folder. Having these permissions is key because it lets you change the boot sequence directly. Without them, your system won’t let you make these changes.
Using Shutdown Commands to Trigger UEFI
After opening the terminal, you can start the reboot. Type “shutdown /r /fw /t 0” and hit Enter. This command tells your computer to restart and load the firmware interface instead of Windows.
The “/r” flag means restart, and “/fw” tells it to go to UEFI settings. The “/t 0” makes it happen right away. This is the quickest way to get into bios on windows 10, avoiding the need to search through many menus.
Navigating the Windows 10 Boot Menu
Understanding the windows 10 boot menu is key to accessing recovery tools and external drives. It lets you skip the usual startup process. This is crucial for maintenance or installing a new system.
By using this menu, you control which hardware your computer uses first during startup.
Identifying the Boot Menu Key
Every computer has a special function key for the boot selection screen. You press this key right when you turn on your computer. Common keys are F12, F11, F10, or Esc, depending on your motherboard.
If you’re not sure which key to use, look at your device’s logo screen at startup. A message will show the correct key for the boot menu. Check your user manual or the manufacturer’s website if you miss it.
Selecting Boot Devices for Troubleshooting
After you get to the windows 10 boot menu, you’ll see a list of devices. This includes your main hard drive, USB drives, and optical drives. Use the arrow keys to choose your device and press Enter.
Choosing an external device is great for running diagnostic tools or reinstalling your system. After picking your device, your computer will load from it instead of the internal drive. This is a good way to fix system errors or do a clean install without changing permanent settings.
Troubleshooting Common Access Issues
Modern computers often focus on speed over accessibility. This can make it hard to change system settings. When you try to reach your firmware, power-saving features or delays might block you. Knowing these common problems can help you control your system again.
Dealing with Fast Boot Interference
Fast Boot is a feature that makes your computer start up faster. It skips the hardware initialization phase. This can make it hard to accessing bios windows 10 because your computer might ignore your keyboard.
To fix this, disable Fast Boot in your power settings. Or, use advanced startup options to force a reboot into the firmware interface.
Resolving Keyboard Recognition Problems
At times, your keyboard might not work during the boot sequence. This can happen with wireless keyboards or USB ports needing specific drivers. If you can’t get the menu, try a different USB 2.0 port. These are usually initialized before USB 3.0 ports.
If problems continue, use windows 10 safe mode. It doesn’t give direct firmware access but helps with driver conflicts. By entering windows 10 safe mode, you can make sure your system is stable. Then, try accessing bios windows 10 again.
Identifying Your Motherboard Manufacturer Key
It’s important to know the specific key for your motherboard when you need to enter bios on Windows 10. Since each manufacturer has its own way, there’s no one-size-fits-all button.
Most modern systems need you to press a certain key right when they start up. If you don’t catch this moment, the computer will just start up normally. You’ll have to restart to try again.
Common Keys for Dell, HP, and Lenovo
Big computer brands usually use the same keys for their products. For Dell computers, press the F2 key over and over as soon as you see the logo.
HP systems often use the F10 key to get into the settings. But, some models might need you to press the Esc key first. Lenovo laptops and desktops usually use the F1 or F2 keys. Some newer models have a special “Novo” button for this.
Finding Keys for Custom-Built PCs
If you built your own computer, the key depends on the motherboard brand. Brands like ASUS, MSI, and Gigabyte almost always use the Delete key to enter bios on Windows 10.
Watch the bottom of your monitor when it first starts up. Most motherboards will show a message like “Press Del to enter setup” or “Press F2 for BIOS” before showing the Windows logo.
If the screen goes by too fast, try pressing the Pause/Break key. This will pause the boot sequence. It lets you read the instructions and find the right key for your hardware.
Understanding Windows 10 UEFI BIOS Settings
Exploring the UEFI environment lets you control your system’s performance and security. Once you’re in, you’ll see various tabs for managing your hardware. Knowing these menus is key to managing your system well.
Overview of Essential BIOS Tabs
Modern systems organize settings into easy-to-use categories. The Main tab shows system details like your processor and memory.
The Advanced tab lets you tweak hardware features like USB support and audio. The Boot tab is crucial for setting startup drives, helping with troubleshooting or new OS installs.
Configuring Hardware and Security Settings
Security is a big deal when managing your computer’s firmware. You can set passwords in the security menu to block unauthorized access.
You can also adjust hardware settings for better performance. Options include monitoring fan speeds, checking CPU temperatures, or enabling virtualization.
Be careful when changing these settings to keep your system stable. Knowing these settings helps you make changes safely.
Safety Precautions When Modifying BIOS
Changing your system’s core settings can boost performance. But, it also comes with risks. When you tweak windows 10 bios settings, you’re messing with your computer’s hardware. It’s important to be careful to keep your system stable.
Risks of Changing Voltage and Clock Speeds
Users often tweak voltage and clock speeds to overclock their processors. But, going too high can cause too much heat. This can damage your hardware if it can’t cool down.
Also, unstable settings might make your system crash or not boot. Always make small changes to see how your hardware reacts. If things go wrong, change them back right away to avoid damage.
How to Reset BIOS to Default Settings
If you run into problems after changing your windows 10 bios settings, you can reset them. Most modern motherboards have a “Load Optimized Defaults” option. This will undo your changes and set your system back to its original settings.
If your system won’t start, you might need to reset it physically. Find the CMOS battery on your motherboard and take it out for a few seconds. Then put it back in. This will clear the memory and set your system to default settings when it starts up again.
Exiting BIOS and Saving Changes
Knowing how to exit BIOS on Windows 10 is as crucial as entering it. After tweaking your settings, you must pick the right exit path. This ensures your changes work as intended. Not saving your work right can cause system issues or lose your settings.
Saving Configuration and Exiting
Modern motherboards have a special option to save and restart. You’ll see it as “Save & Exit” or “Save Changes and Reset.” Choosing this option saves your settings to the motherboard’s memory.
After confirming, the system will reboot. This makes sure your new settings are used next time you start up. Always check if your changes were saved by looking at the system status after restarting.
Discarding Changes and Rebooting
If you made a mistake or are unsure about a setting, you can discard your changes. This is often called “Discard Changes and Exit” or “Exit without Saving.” It lets you leave the BIOS without applying any changes.
Using this option is safe if you’re still learning. It helps you go back to your previous settings if needed. Once you choose this, your computer will reboot with the original settings. This keeps your system stable while you keep exploring.
Conclusion
Gaining access to your computer’s firmware gives you total control over your hardware. You now know how to use these deep settings on your Windows 10 machine with ease.
Whether you have a Dell, HP, or Lenovo device, you can manage your boot priority and security settings well. You have the tools to fix performance issues or make your machine better for certain tasks.
Be careful when making changes to voltage or clock speeds. They can affect your system’s stability. Keep your firmware up to date to keep your hardware running at its best.
Knowing how to manage these technical menus lets you solve complex problems on your own. Use these skills to keep your computer running well for years. Share your experiences to help others with their system settings.
1 thought on “How to Enter BIOS on Windows 10: Simple Steps for Beginners”