
Have you ever wondered why Gmail lacks a built-in option for tables? This limitation can be frustrating, especially for those who rely on structured data in their emails. In this guide, you’ll discover effective ways to insert a table into your Gmail message. While Gmail may not offer a native feature, there are reliable workarounds available. You’ll learn how to create clean, professional-looking tables using tools like Google Docs, Microsoft Word, and Google Sheets.
By following our simple steps, you can easily copy and paste formatted tables directly into your emails without losing any styling. Whether you’re on a desktop or mobile device, we’ll provide you with the best techniques to enhance your email communication.
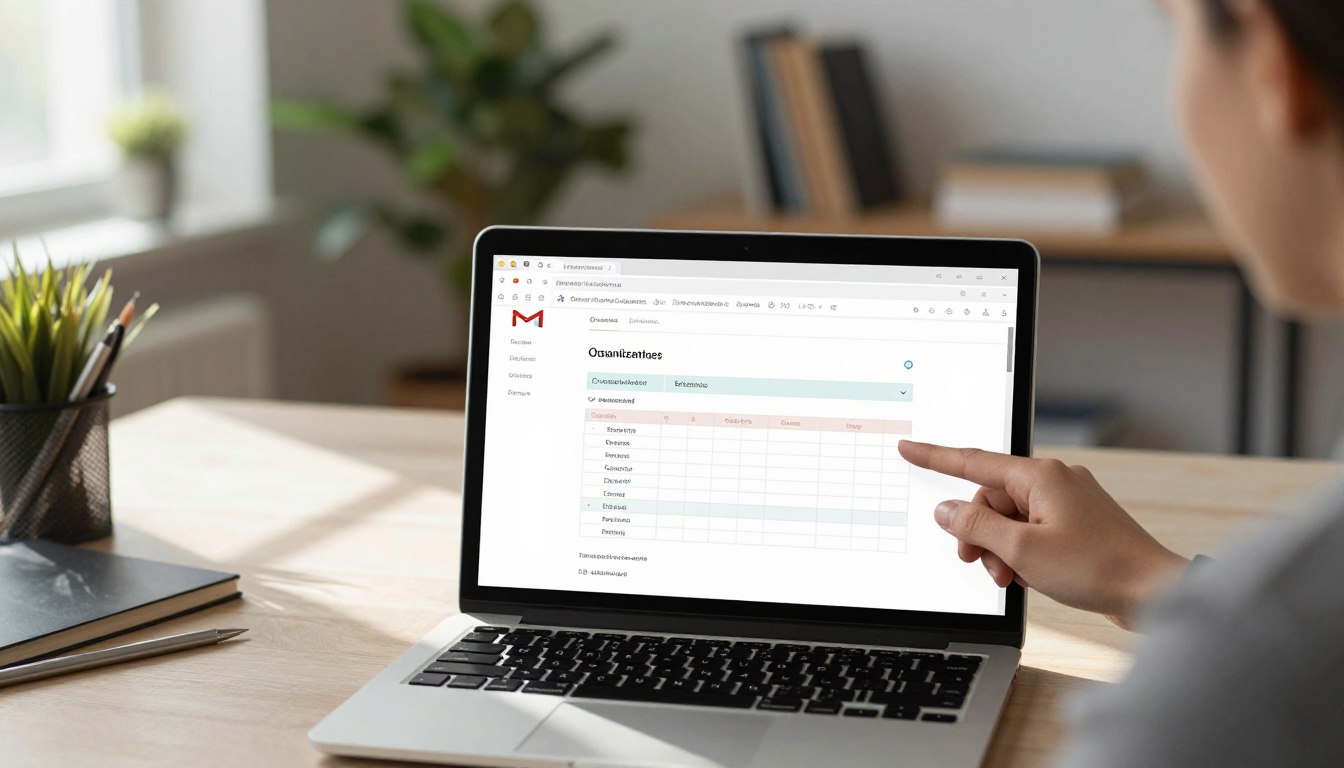
Understanding the Challenge: Why Gmail Lacks a Native Table Feature
For users accustomed to structured emails, Gmail’s lack of a table option can be a challenge. This limitation can hinder effective communication, especially when presenting data clearly. Gmail’s built-in editor was designed primarily for simple text-based communication. It lacks advanced layout tools, including a native table insertion option.
The absence of a dedicated table feature means you cannot create or edit tables directly within the Gmail compose window. This forces you to rely on external tools for any structured data presentation. When you attempt to paste a table into an email while plain text mode is enabled, the formatting breaks down completely. This leaves you with disorganized text that requires cleanup.
Tables enhance your email communication by presenting data, schedules, comparisons, and reports in a visually organized manner. This format makes it easier for recipients to scan and understand your message. Professional emails that include well-formatted tables convey attention to detail and improve clarity, whether you are sending a project update, a pricing sheet, or an event itinerary.
Moreover, the limitations of Gmail’s editor extend to the inability to modify table structures after pasting. This includes adding or deleting rows and columns, which can be frustrating. Understanding these constraints helps you choose the right workaround and set realistic expectations for how your tables will appear in recipients’ inboxes across different email clients.
Despite these limitations, the available methods for inserting tables into Gmail messages are reliable. When you follow the correct steps, you can achieve clean results.

How to Insert Table into Gmail Using Google Docs or MS Word
Gmail users often face the hurdle of not having a built-in table feature. Fortunately, you can create tables using Google Docs or Microsoft Word and then paste them into your email. This method allows you to maintain formatting and structure, making your emails look professional.
Creating Your Table with Google Docs or MS Word
Start by opening Google Docs or Microsoft Word on your desktop. Create a new blank document where you can build your table from scratch. In Google Docs, click on the Insert menu, select Table, and drag your cursor over the grid to specify the number of rows and columns needed for your data.
In Microsoft Word, navigate to the Insert tab, click Table, and either drag to select cells or choose Insert Table to manually enter dimensions for larger or more complex layouts.
Filling and Structuring the Table Effectively
Once your table is created, fill it with relevant information. Clearly label the column headers and apply formatting such as bold text or background colors to improve readability. It’s crucial to complete the entire table before copying, as Gmail does not allow modifications after pasting.
Copying the Table to Your Clipboard
To copy the table, right-click anywhere on it and select “Copy,” or use the keyboard shortcut Ctrl+C (Cmd+C on Mac). This action will place the formatted table into your clipboard, ready for pasting.
Pasting the Table into Your Gmail Message
Open Gmail and click on Compose to start a new message. Position your cursor at the desired insertion point in the email body. Press Ctrl+V (Cmd+V on Mac) to paste the formatted table directly into your email. After pasting, you can edit the text within individual cells, but remember that the table structure itself cannot be modified.
This method works best for tables containing descriptive text, such as meeting agendas or project timelines, where Google Docs and Word provide superior formatting tools.
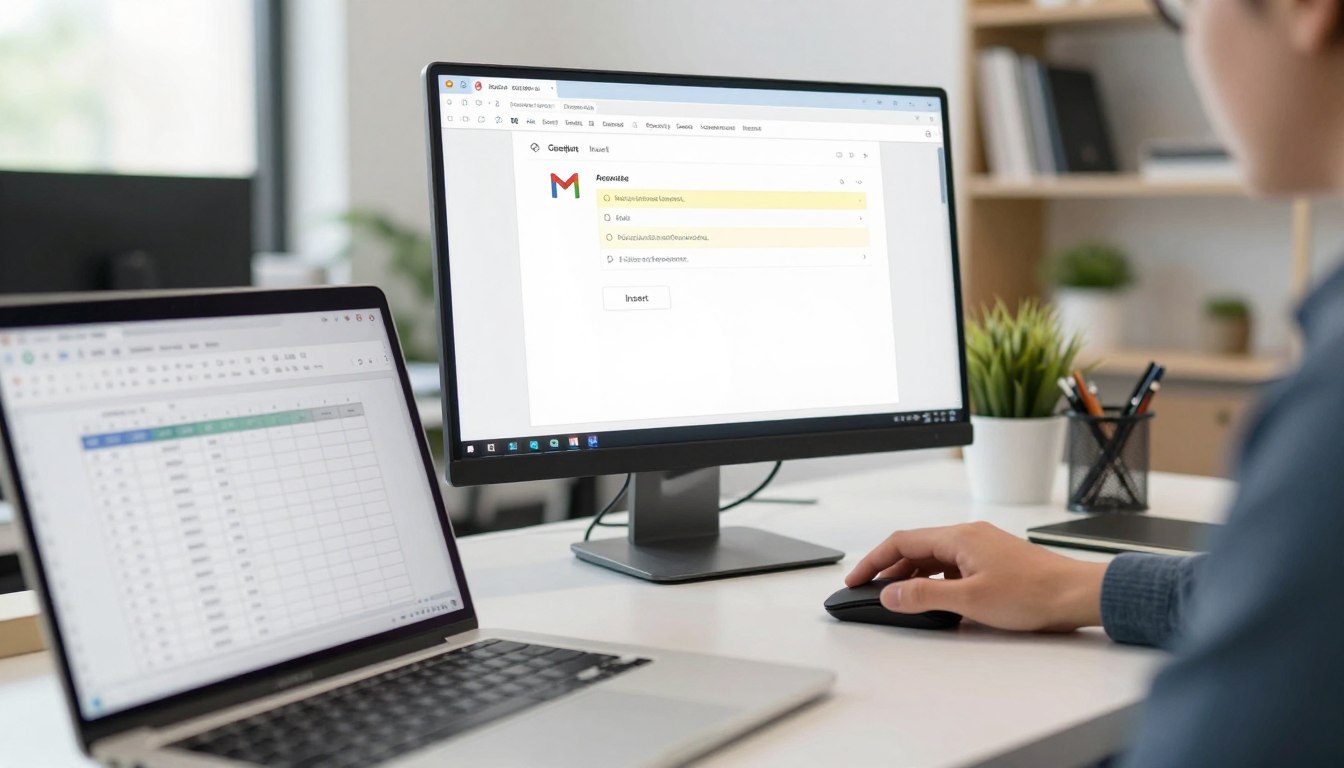
Inserting Tables into Gmail from Google Sheets or Excel
Creating structured tables in Gmail can be accomplished through Google Sheets or Excel. These tools are ideal for organizing numerical data, calculations, and comparisons. By utilizing them, you can enhance the clarity and professionalism of your emails.
Creating and Formatting Your Table in Sheets or Excel
Start by opening Google Sheets or Microsoft Excel. In Google Sheets, enter your data into a range of cells. Use formatting tools like borders, bold headers, and alternating colors to create a polished look. You can quickly apply alternating colors by navigating to the Format menu.
In Microsoft Excel, select your data range, go to the Insert tab, and click on Table. Confirm the cell range and whether your table has headers. Excel will automatically apply consistent formatting, allowing for filtering and sorting options.
Copying the Table from Your Spreadsheet
Once your table is ready, select all the cells that make up your table. Click and drag to highlight them, then use Ctrl+C or right-click and choose Copy. This action captures both the data and its formatting, preparing it for pasting.
Pasting the Table Accurately into Your Email
Return to Gmail and position your cursor in the compose window where you want the table to appear. Use Ctrl+V or right-click and select Paste. The table will be pasted with its rows, columns, and formatting intact. This method is particularly effective for maintaining column widths, cell borders, and background colors.
You can even include multiple tables in a single email by repeating the copy and paste steps for each one. This technique is recommended when your table contains numbers or requires precise alignment, as spreadsheet tools excel at handling structured data.
Using Chrome Extensions to Add and Edit Tables Directly in Gmail
Enhancing your Gmail experience can be achieved through the use of Chrome extensions that facilitate table creation. These tools provide a native-feeling table insertion option directly within the compose window. This eliminates the need to switch between applications, making your workflow more efficient.
Installing a Table Chrome Extension Like Tables for Gmail
To get started, you can install a table Chrome extension such as Tables for Gmail by cloudHQ or Quick Table for Gmail by workaddons.com. Visit the Chrome Web Store, search for the extension, and click “Add to Chrome” to integrate it with your browser.
Configuring Table Settings Within Gmail
Once installed, open Gmail and click on “Compose” to start a new email. Position your cursor where you want the table to appear. Access the extension through the three-dot menu or a new toolbar button in the compose interface. This allows you to specify the number of rows and columns, choose header and background colors, and adjust border styles. You can preview the table before inserting it into your email.
Editing Table Content After Insertion
After inserting the table, you can edit the content directly within the Gmail compose window. Click into individual cells and type your information. This feature saves time compared to copying and pasting from external tools. Some extensions even allow you to add or remove rows and columns after the table has been inserted, giving you greater flexibility.
Be aware that free versions of these extensions may have limited formatting options and are only compatible with the Google Chrome browser on desktop computers. Using an extension is the fastest option for adding tables to your emails when you frequently send structured data. These tools are particularly useful for creating simple tables quickly, such as schedules, checklists, or comparison charts.
Adding Tables to Gmail Messages on Mobile Devices Using Google Sheets
Adding tables to your Gmail messages while on a mobile device can be quite challenging. The Gmail mobile app does not support native table creation, which limits your options. However, using Google Sheets provides a reliable solution for mobile users.
Creating a Table in the Google Sheets Mobile App
Begin by opening the Google Sheets app on your smartphone. Tap the + sign at the bottom to create a new spreadsheet. You can manually enter all the data you need into the cells. Use the app’s formatting tools to add borders, bold headers, and background colors to enhance clarity.
Selecting and Copying Cells on Mobile
When you’re ready to copy your table, long-press one corner of your selected area. Drag the selection handles to cover all the cells you want to include. After that, tap the Copy option that appears in the context menu. Make sure you have selected all necessary rows and columns before copying, as reselecting can be tedious on a touchscreen.
Pasting the Table into the Gmail Mobile App
Next, open the Gmail app and tap Compose to start a new email. Long-press in the body of the message where you want the table to appear. Tap Paste from the pop-up menu to insert your table. If the pasted table appears broken or loses formatting, check that plain text mode is not enabled. Tap the three-dot menu in the compose window and ensure the Plain text mode option is unchecked.
Completing and Sending Your Email
After successfully pasting the table, complete your email by adding the recipient’s address and a clear subject line. Include any additional text or context as needed. Finally, tap Send to deliver your professionally formatted message. This method using Google Sheets is currently the most reliable way to add tables to emails on smartphones.
Conclusion
Now you know the various methods for adding a table in your emails. Whether for a simple message or a detailed campaign, these techniques can enhance your communication. For those sending personalized emails at scale, consider tools like Mail Merge for Gmail. They allow you to insert tables and customize content for each recipient effortlessly.
Additionally, converting a table into an image is an option. By taking a screenshot and inserting it from Google Drive, you can ensure recipients see the table as intended.
By mastering these methods, you can improve your email organization and professionalism. Structured tables make it easier for recipients to digest complex information, ensuring your messages are clear and effective.