
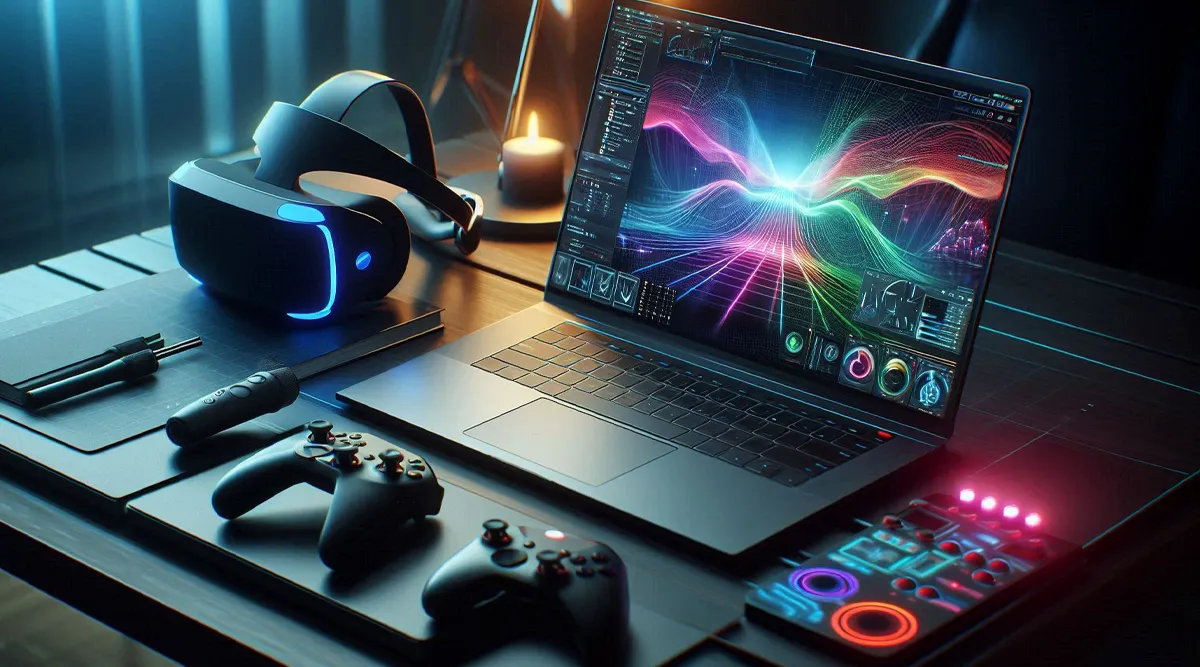
Transitioning from flat-screen gaming to virtual reality is exciting—but it demands more from your hardware than traditional PC titles. If you already know your way around GPUs and refresh rates, this guide will show you exactly how to optimize gaming laptop for VR without the beginner fluff.
VR requires sustained high frame rates, minimal latency, and thermal stability. A desktop replacement laptop can handle VR, but only if configured correctly. Below, you’ll find actionable steps to squeeze every frame out of your system.
Tips to Optimize Gaming Laptop for VR Gaming
Unlike traditional gaming, VR demands high, stable frame rates (typically 90Hz+), ultra-low latency, and consistent frame timing. Even a powerful gaming laptop can struggle if it isn’t properly tuned.
This guide walks you through system-level, GPU, thermal, and VR-specific optimizations to extract maximum performance and stability.
1. Pre‑Optimization: Baseline Verification
Before tweaking anything, confirm your hardware is physically capable of PCVR. No amount of optimization can fix an underpowered GPU or an integrated graphics bottleneck.
Minimum Viable Specs for a Smooth Experience
| Component | Minimum (Compromised) | Recommended | Ideal |
| GPU (laptop variant) | GTX 1060 / RX 580 | RTX 2060 / RX 5600M | RTX 3060+ (130W) / RX 6700M |
| CPU | Intel i5-4590 / Ryzen 5 | Intel i7 / Ryzen 7 (recent gen) | Intel i9 / Ryzen 9 |
| RAM | 8 GB | 16 GB | 32 GB |
| Output Port | HDMI 1.3+ | DisplayPort 1.2+ | USB-C w/ DP Alt Mode |
The Hidden Laptop Trap: GPU Passthrough
Most gaming laptops route the built-in display through integrated graphics (NVIDIA Optimus). The same trap applies to external ports — some HDMI or USB-C ports connect to the iGPU, not the dGPU.
How to verify your ports:
- Open NVIDIA Control Panel → PhysX configuration.
- Look for the diagram showing which ports are wired to the NVIDIA GPU vs. the Intel/AMD integrated graphics.
- Connect your VR headset exclusively to ports linked to the dGPU. If your only DisplayPort/USB-C is tied to the iGPU, you will experience severe stuttering or no display at all.
Run a Baseline Performance Test
Before making any changes, run the SteamVR Performance Test (free) to establish a baseline. Note your average fidelity score and frame rate. This gives you a reference point for measuring the impact of your optimizations.
2. System‑Level Tuning: The Foundation
NVIDIA Control Panel (for NVIDIA GPUs)
These settings are non‑negotiable for VR on a laptop:
| Setting | Value | Why |
| Preferred graphics processor | High‑performance NVIDIA processor | Forces all VR workloads to the dGPU, bypassing Optimus overhead |
| Power management mode | Prefer maximum performance | Prevents the GPU from downclocking mid‑session |
| Texture filtering – Quality | High Performance | Reduces unnecessary texture filtering overhead |
| Virtual Reality pre‑rendered frames | 1 | Minimizes input latency |
| Ambient Occlusion | Off | Performance gain with minimal visual impact in VR |
| Anisotropic filtering | Application‑controlled | Let the VR app decide |
Critical: If your laptop has a Manage Display Mode option in the NVIDIA Control Panel (under 3D Settings), select NVIDIA GPU only. This completely disables the iGPU for external displays, eliminating a major source of stutter.
3 thoughts on “How to Optimize Gaming Laptop for VR: A Complete Guide for Experienced Gamers”